
The Process
Building Curved Decks from Start to Finish
Finding Your Radius
Firstly we need to set up a template, to do this we need to know the radius. You can do this several ways. When designing a deck we can measure the area of the proposed deck and workout what radius that would fit best in the design. Then using a telescopic radius arm I can mark my template. Nice And easy. But not all projects can be this simple, you may be working to an existing curve. So you can either copy a template or use a radius calculator to find your radius from part of a curved area.
Secondly you transfer your radius to a flat surface, I have a bench so I can work comfortably. I set up my radius arm, measure my distance and draw directly on to my workbench the outline of my external measurement. Then I use a 25mm x 25mm composite edging to fix down. Fixing every 100mm through my bench, securely holding it in place. This is important so it can’t move when you’re clamping to it.
Thirdly I set up lots of clamps next to each point of clamping, close to hand so i’m ready to go as soon as my boards have been cooked. There’s nothing worse than not being well prepared.


Preparing the Composite Deck Board
Now’s the time to prepare my chosen composite deck board.
I drill a hole centre of my board through the side edge, this is for my temperature probe to be placed inside to give me my internal temperature as my board is cooking.
I then place my 3m board between two heatcon blankets, the only set in the UK. I insulate beneath and above with insulation to trap the heat in.
Once in position, I set my heatcon composite deck blankets to my desired temperature, I can’t tell you my temperatures. It’s as secret as the Kentucky Fried Chicken recipe. Something I’ve worked very hard to master. And varies from each manufacturer’s products.
Then I leave my boards slowly cooking away to reach the correct temperature so I don’t damage them.
Clamping
Once I’m sure the board is at its correct durability, I carefully remove the insulation, the temperature probe and turn off my blankets before removing my board and placing it on my bench. I now pull the board inwards at the centre point and clamp loosely before working outwards both sides to pull my board into position carefully ensuring I don’t damage it.
Once happy with it I firmly clamp down and cool my board with a wet towel, trying to cool my board down before setting it in place.
With all the boards completed, I can now focus on building my deck.


The Build, Framework
This is usually a 6×2 timber frame supported on composite posts. I then take my telescopic radius arm to site so mark out my frame identically to my template to ensure identical curves are achieved.


Protecting Joists
Once my curves have been transferred to my frame I will cut and block the curve out to give a strong footing to fix to.
Each timber we cut we will protect with end grain protection and fully tape the tops of all timbers with joist protection tape, ensuring a well built long lasting sub frame.


Laying and Cutting
Now that the frames are fully finished I am able to start laying my chosen board. I will lay out my main areas then re set up my telescopic radius arm to transfer the curved edge , ready for cutting. Now the tricky part, a steady hand and a good eye for detail is very important, nobody wants to see a badly cut deck.
Slow and steady I cut through my boards with a small hand held cordless skill saw making sure a brand new sharp high quality blade is used each time.
Fixing
Now the radius is cut, I clear up giving me a clean area to work in and I can start fixing my curved boards into place.
The boards I’ve heated and curved will naturally of sprung slightly out of shape so its very important to carefully position and manipulate them to the cut deck, taking plenty of time to position them neatly and making sure all expansion gaps look correct,
The detail is the one thing people will notice, if badly installed a curved deck wouldn’t look good so it’s important to make sure you do it to the best of your ability.

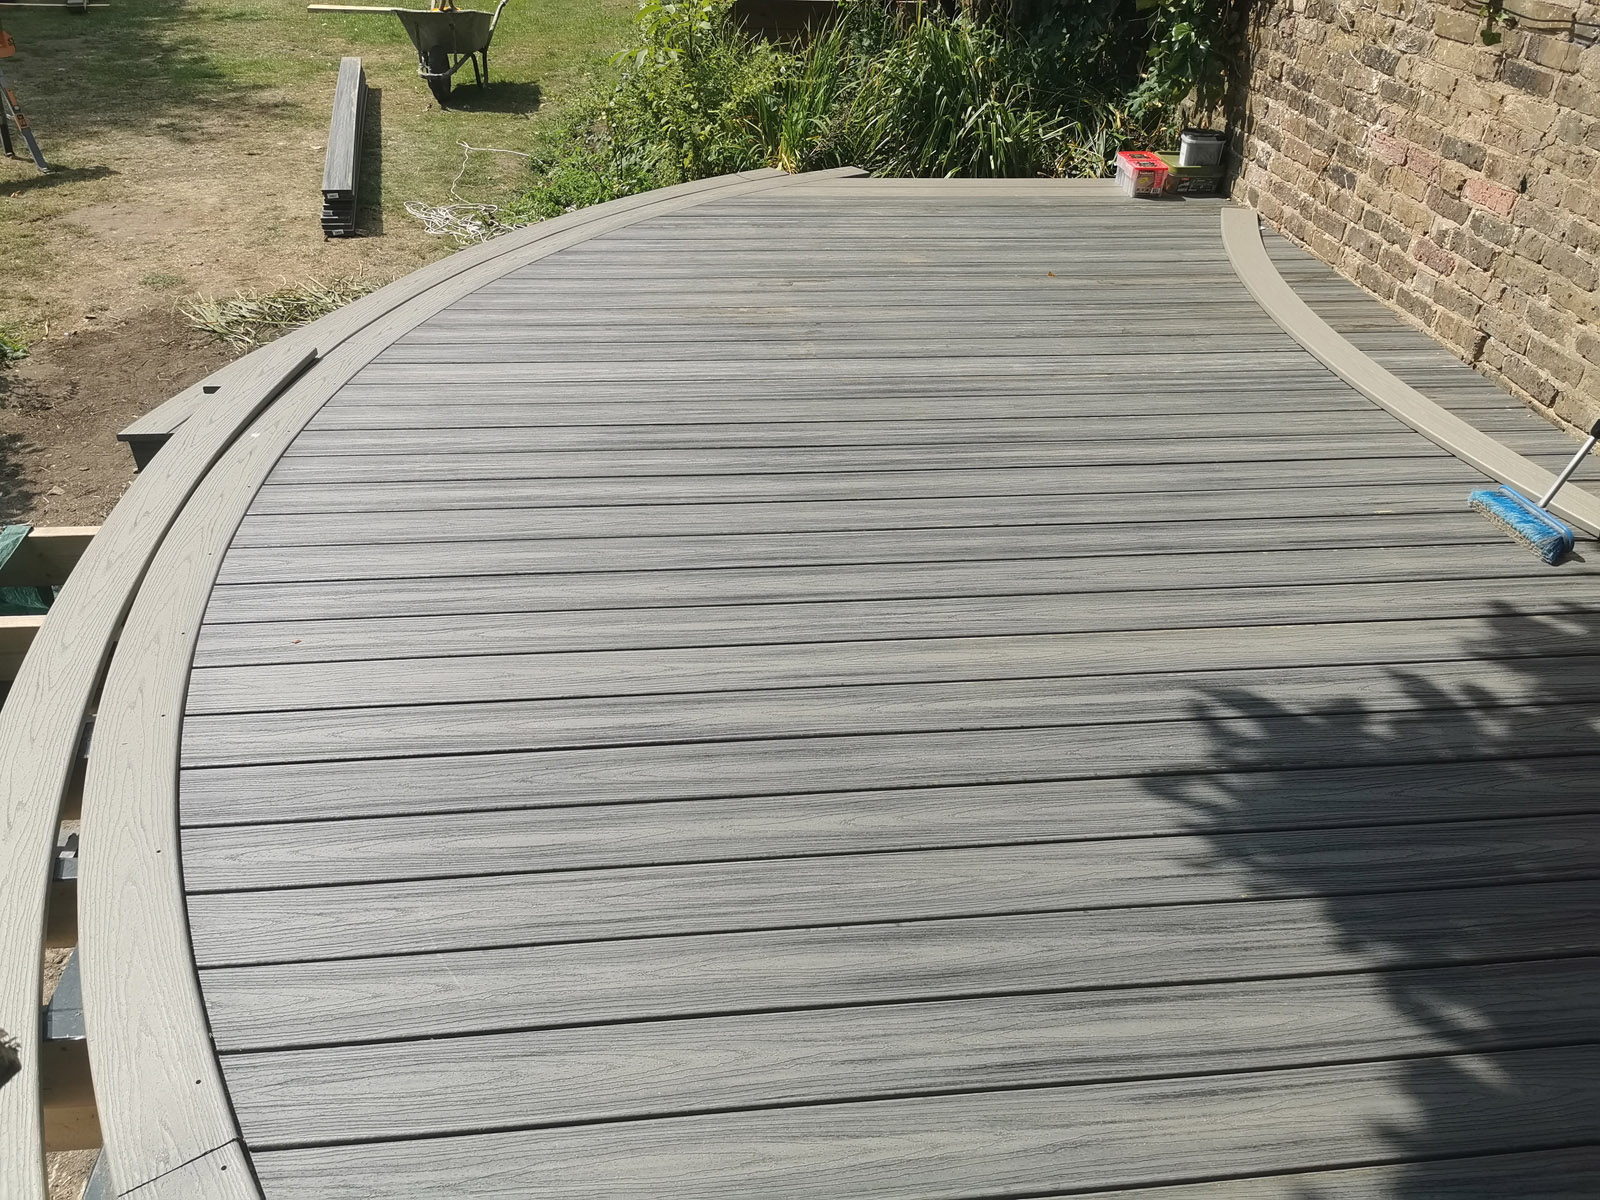


A Seamless Finish
With extra help and plenty of packers at hand you can gradually fix the edge boards in position, we try to use pro plugs or cortex hidden plugs so you can’t see any fixings. Giving a seamless clean finish.


Fascias
Now is the time for the fascia to be installed.
This is slightly easier but must be done correctly to achieve a high standard of finish. This is normally fixed with colour matching screws at an angle so it bites correctly into the angled end grains.


